How to Make a Haku Lei: A Step-by-Step Guide to This Beautiful Graduation Tradition
/
Haku Technique
Learn the art of making a fresh floral crown or lei
Let’s get you ready! Here are the steps.
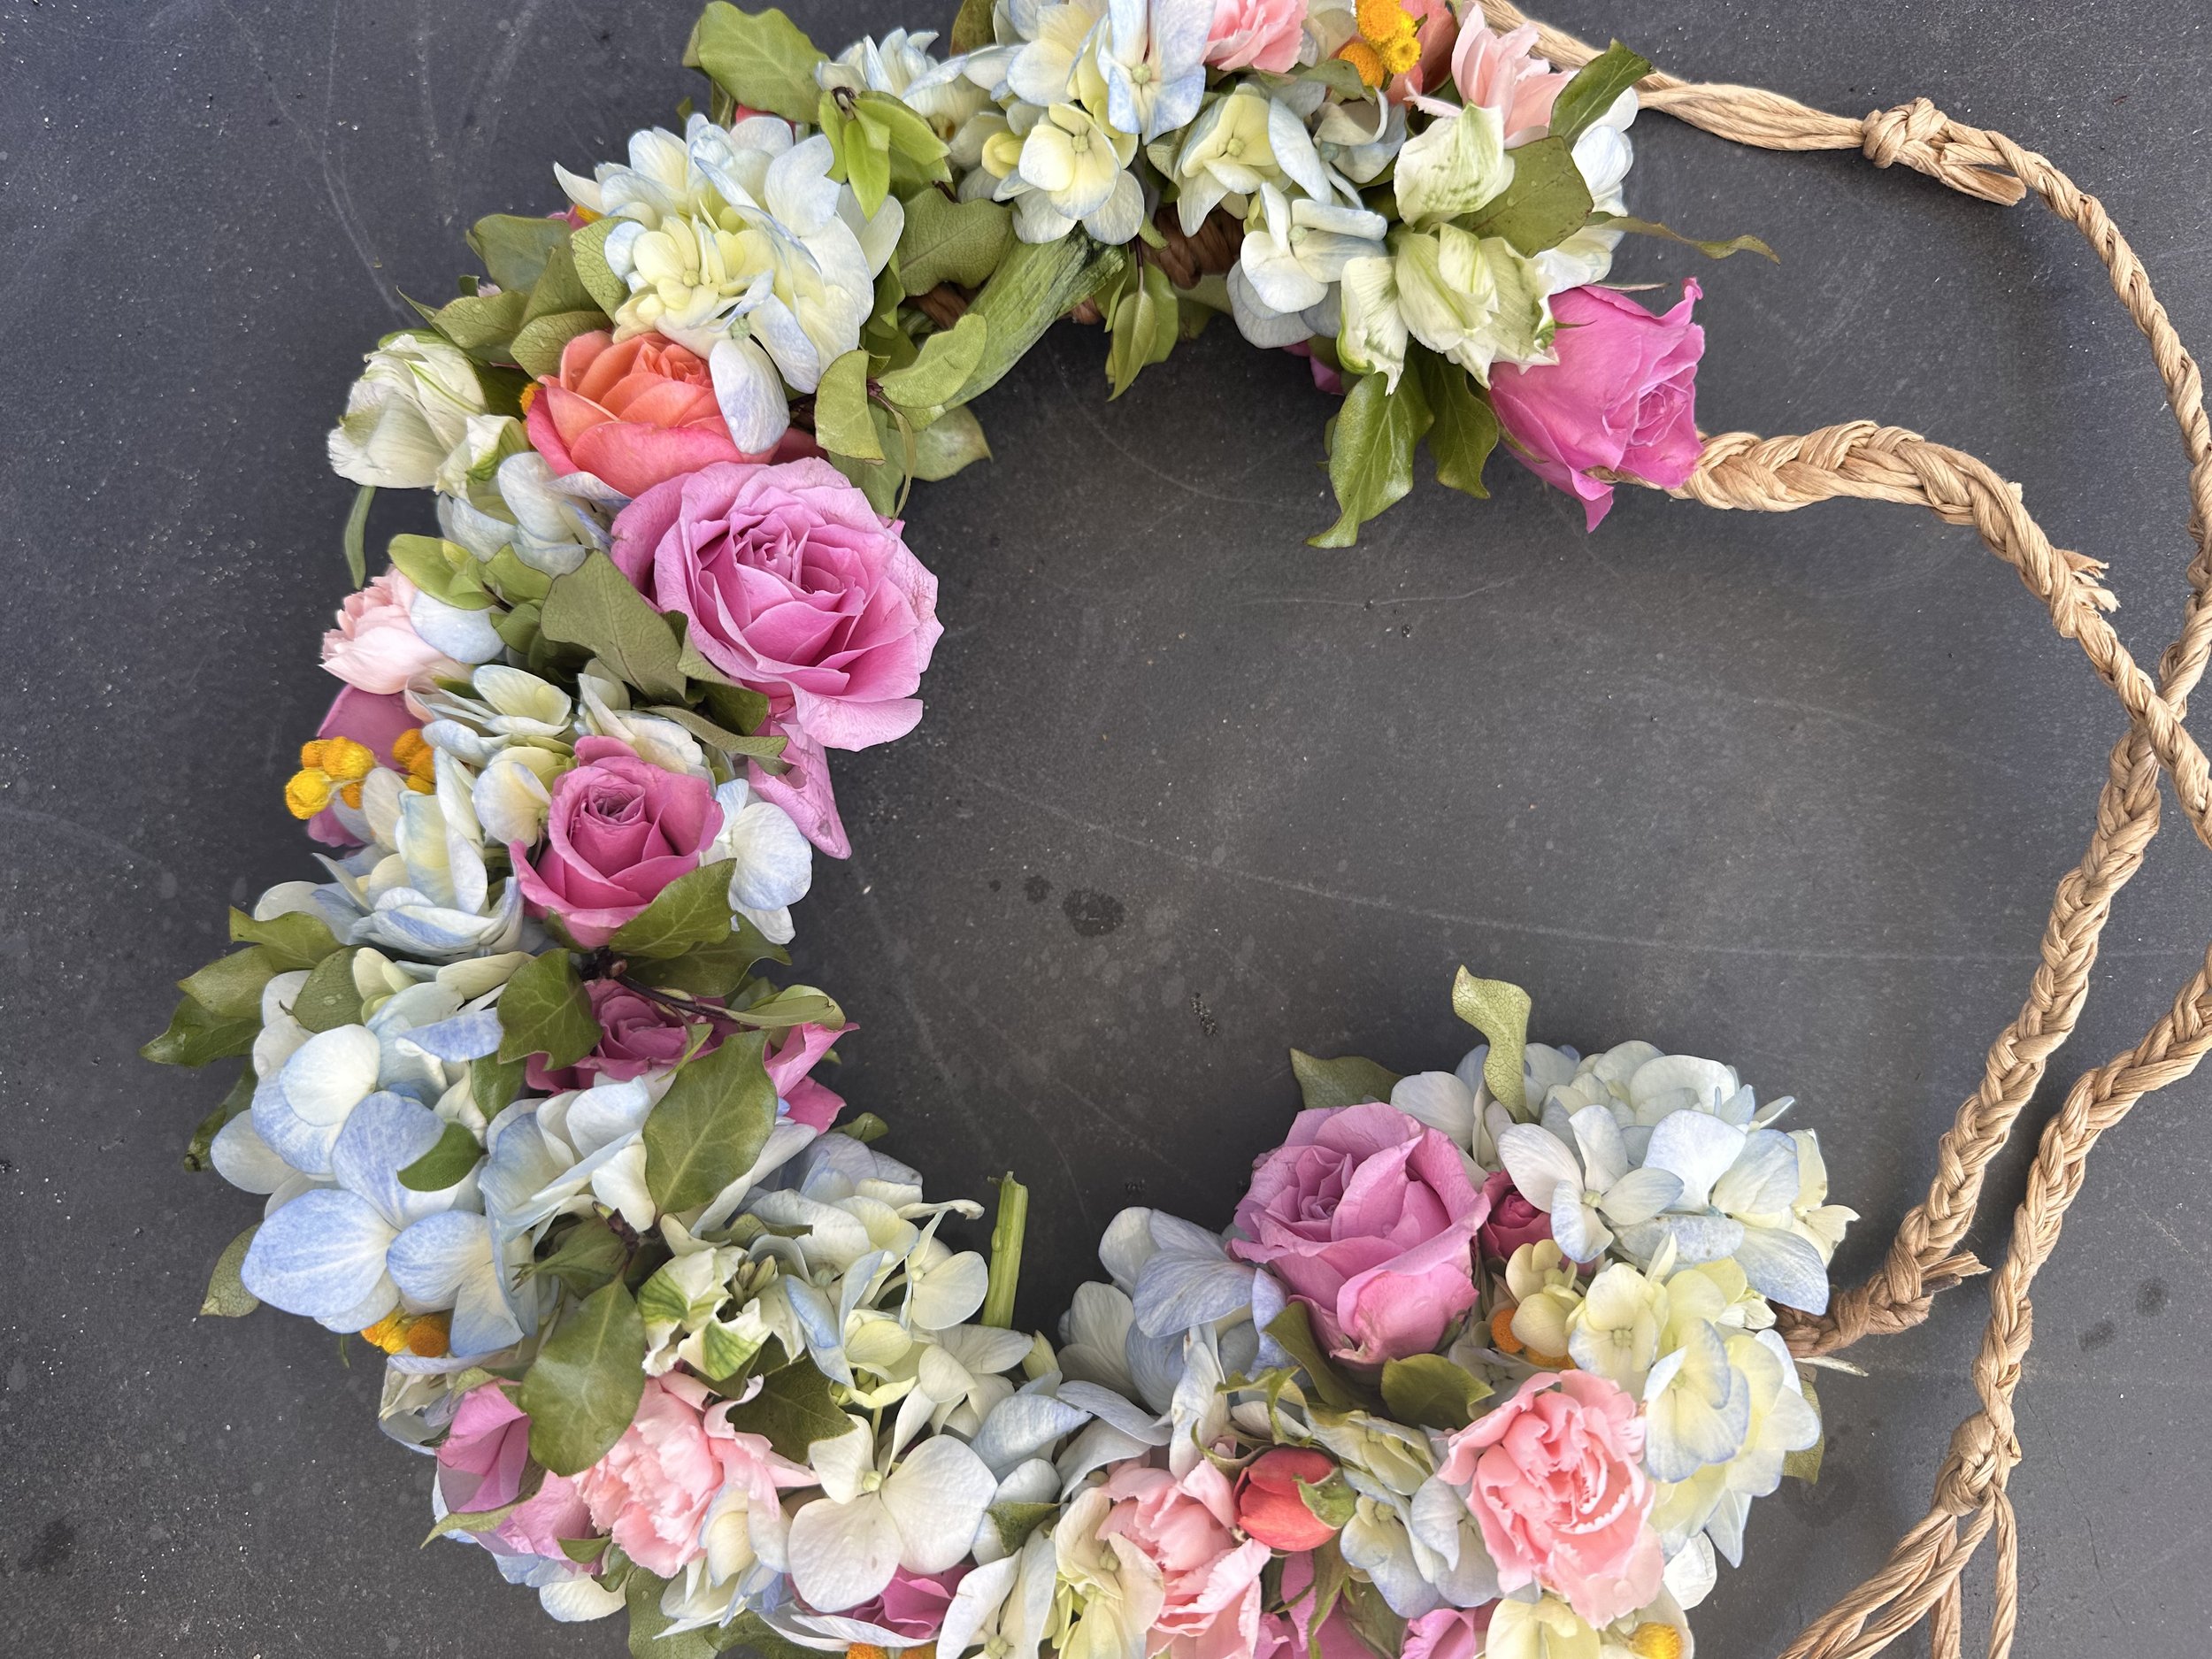
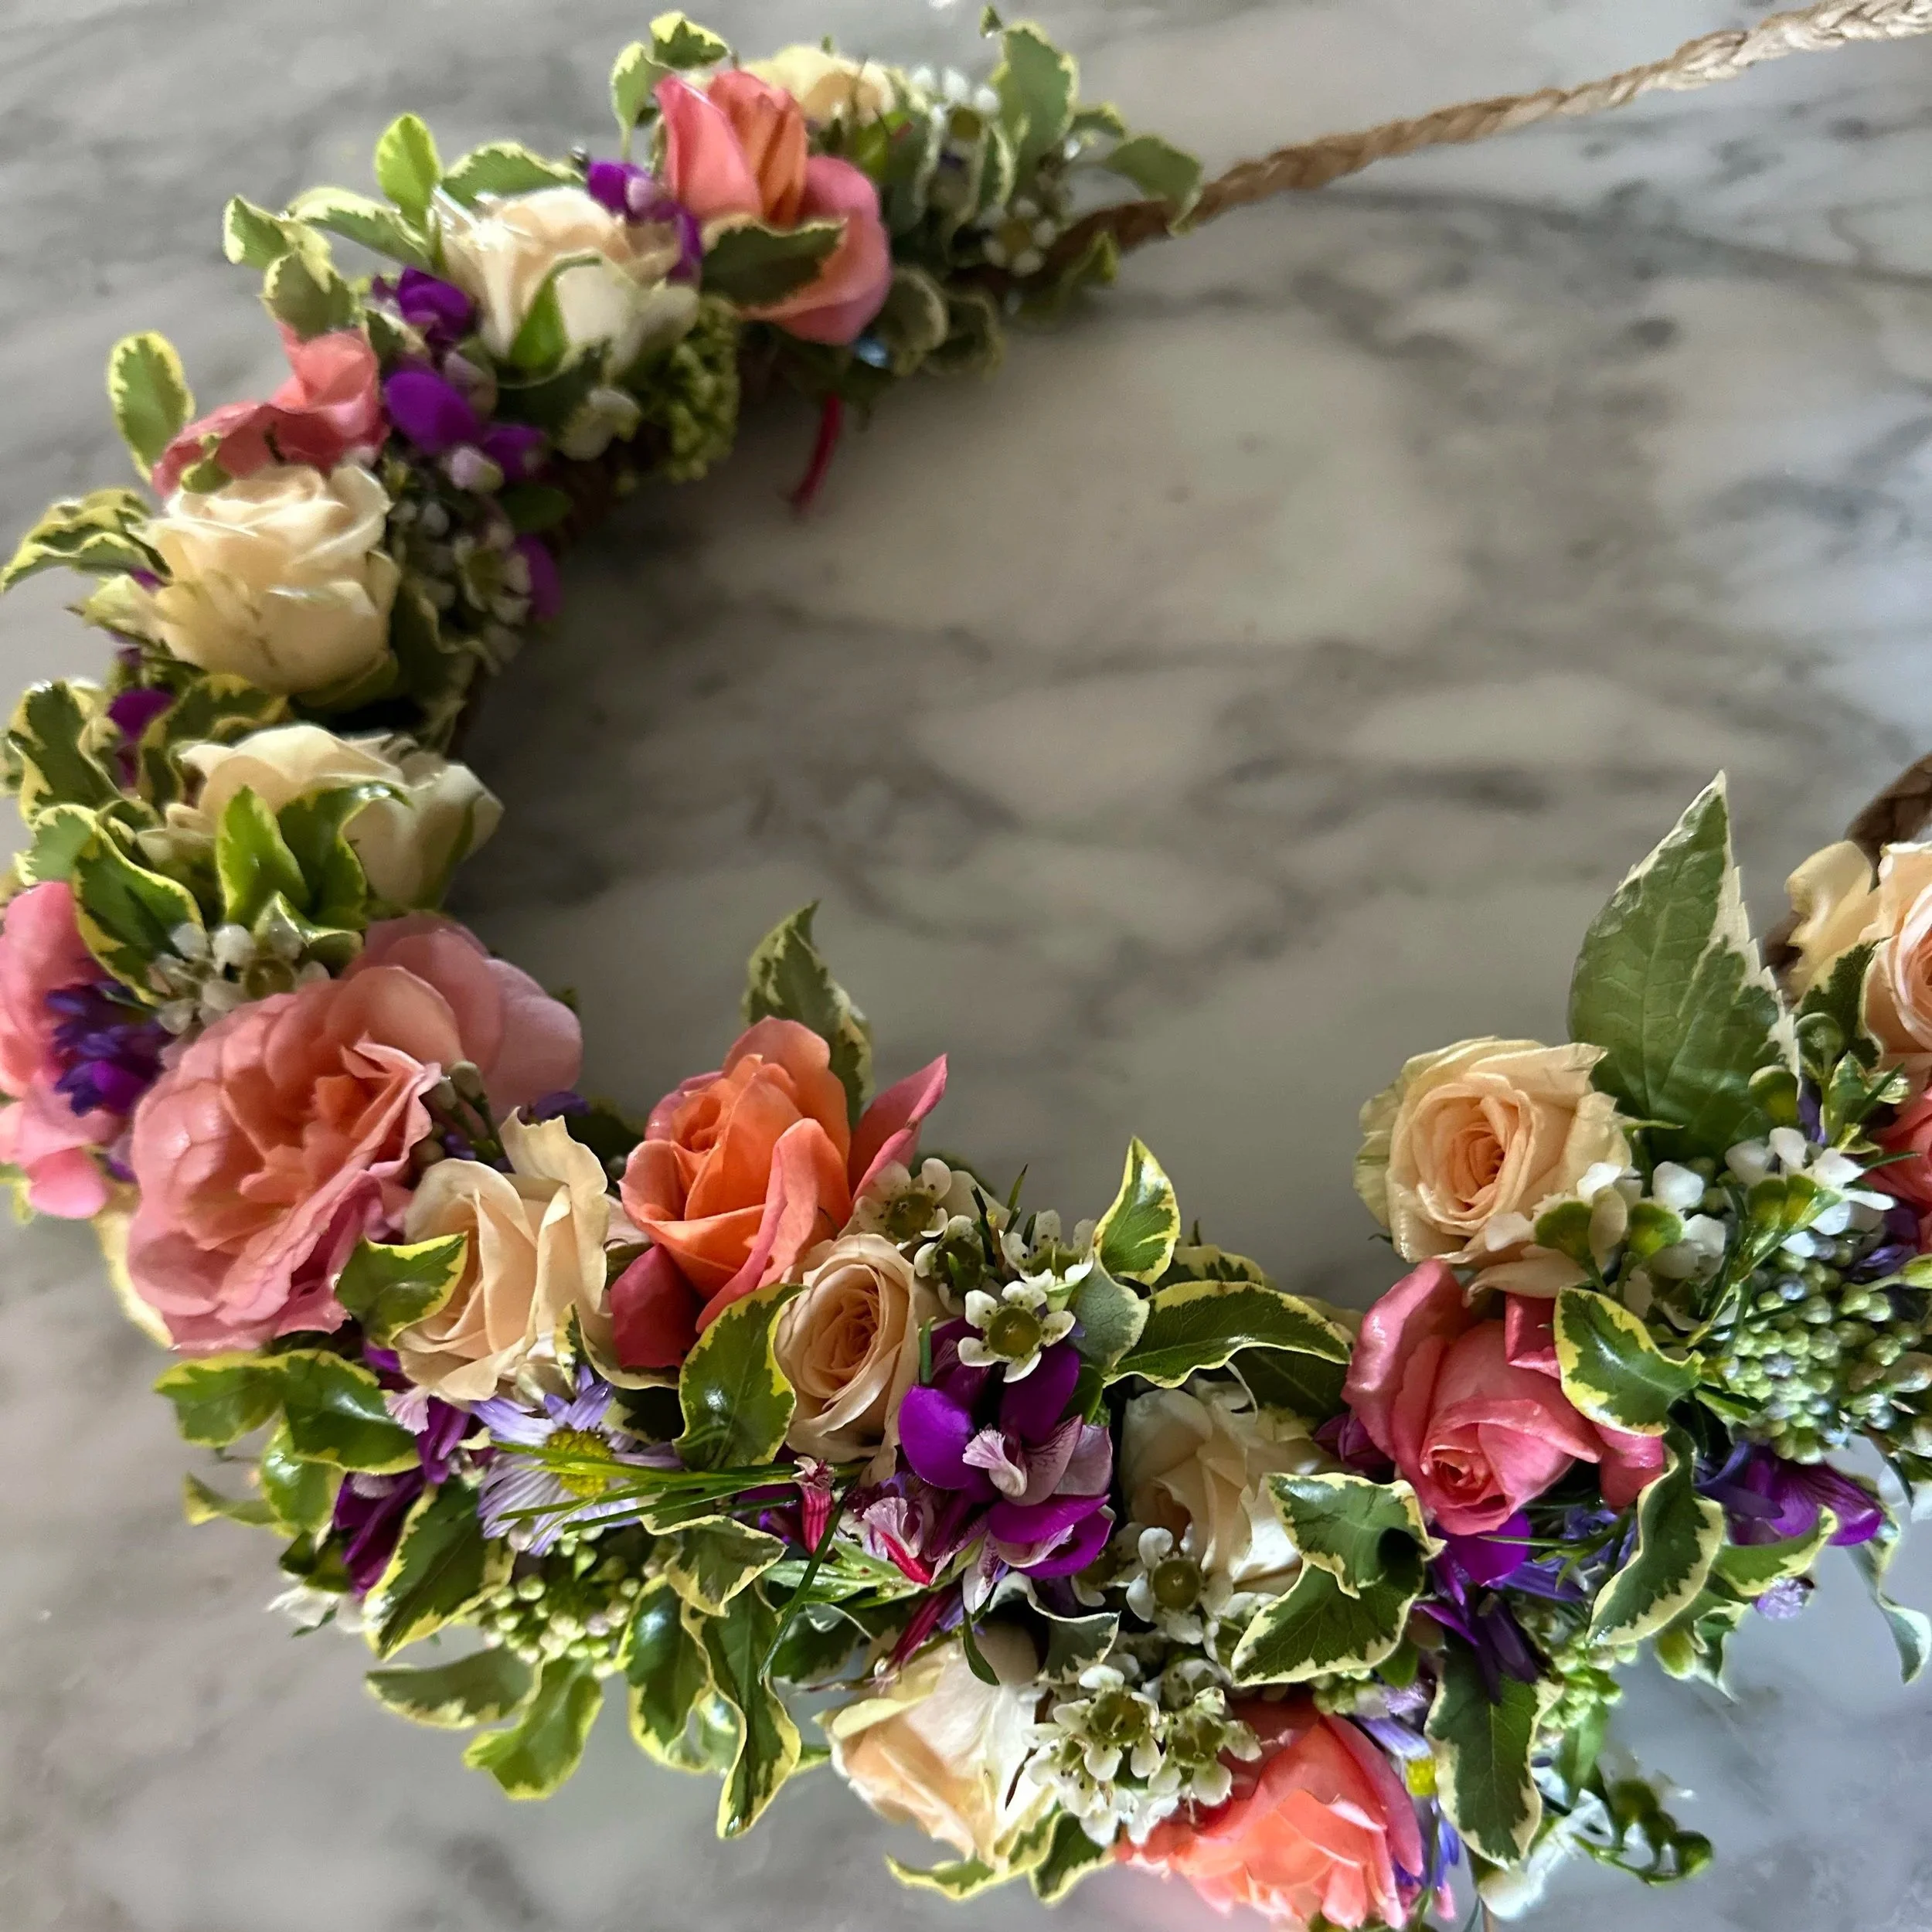
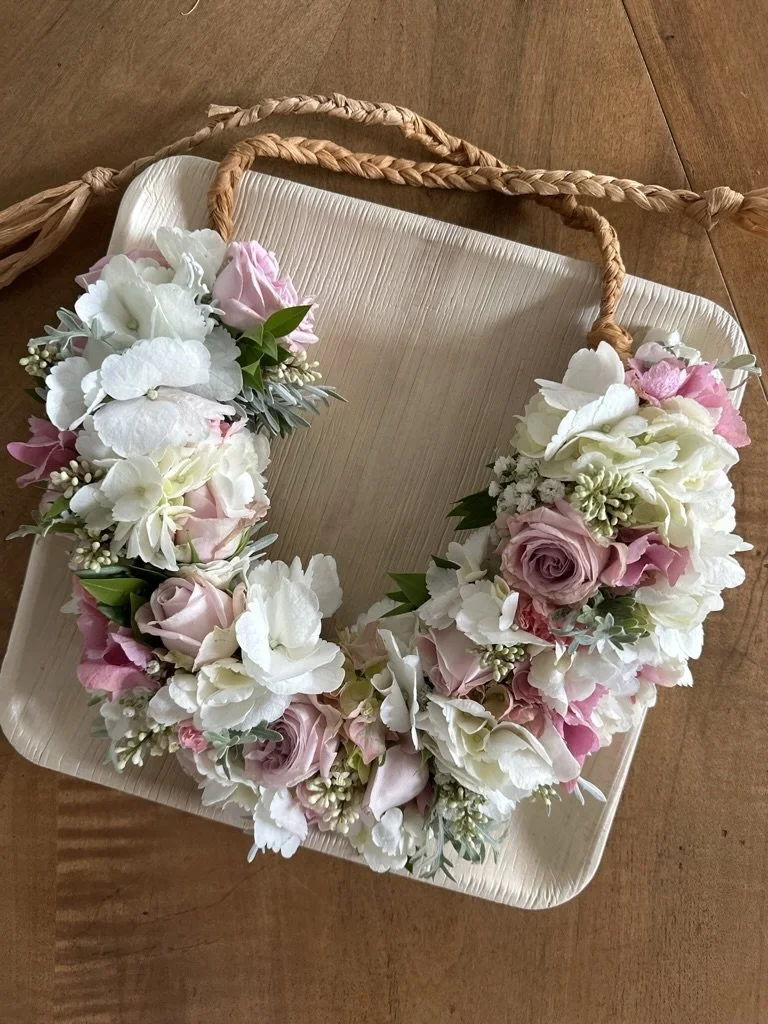
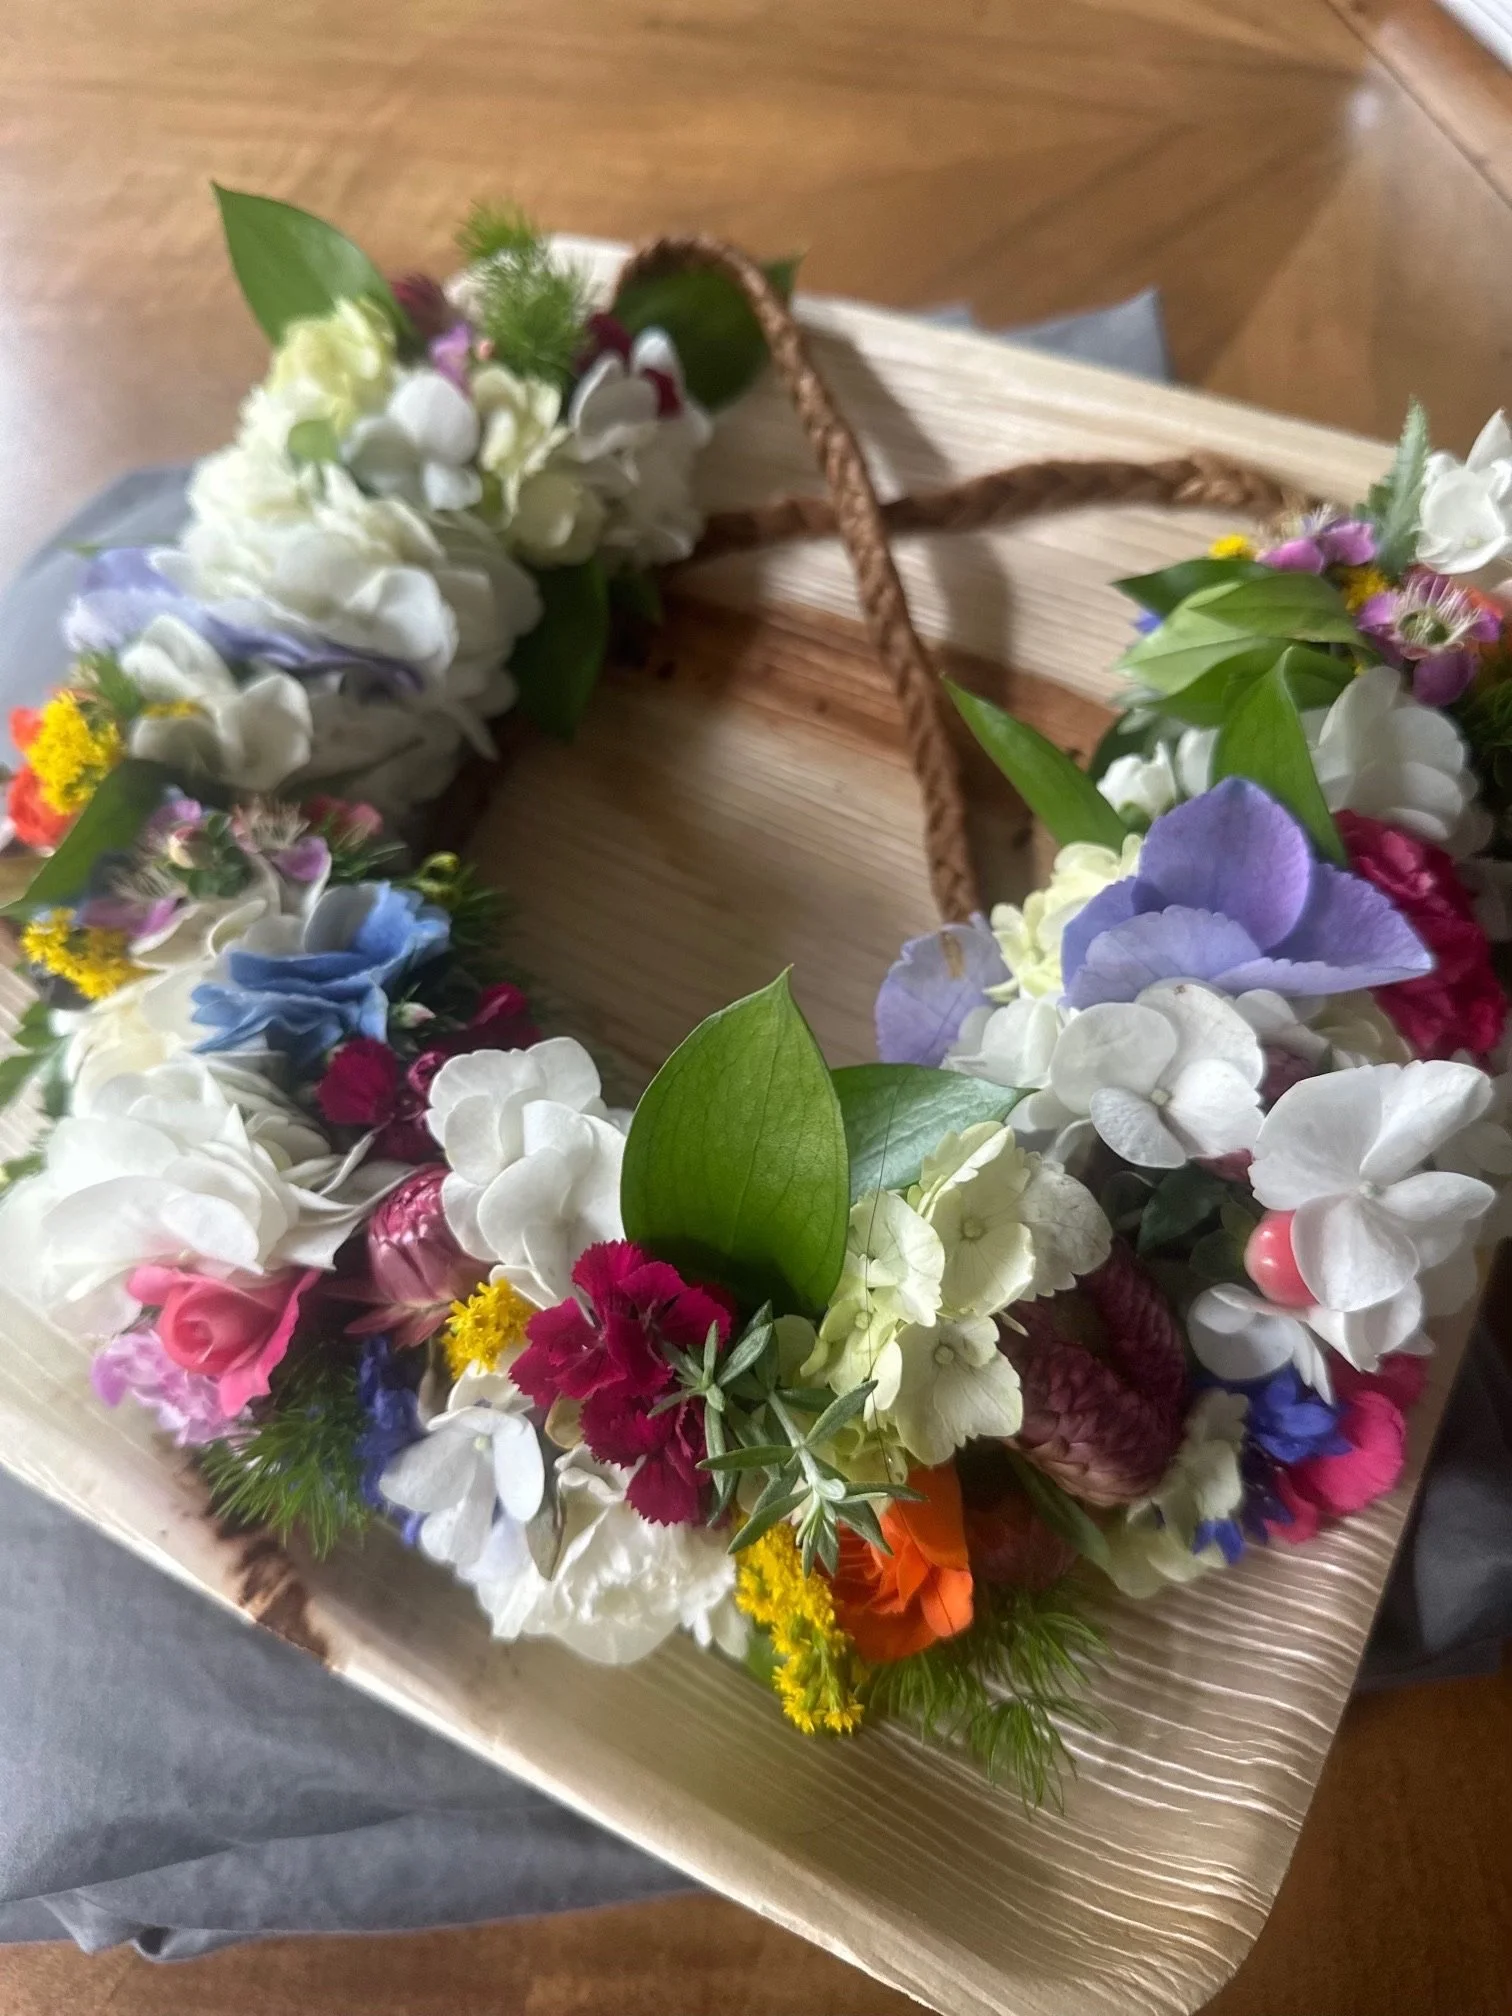
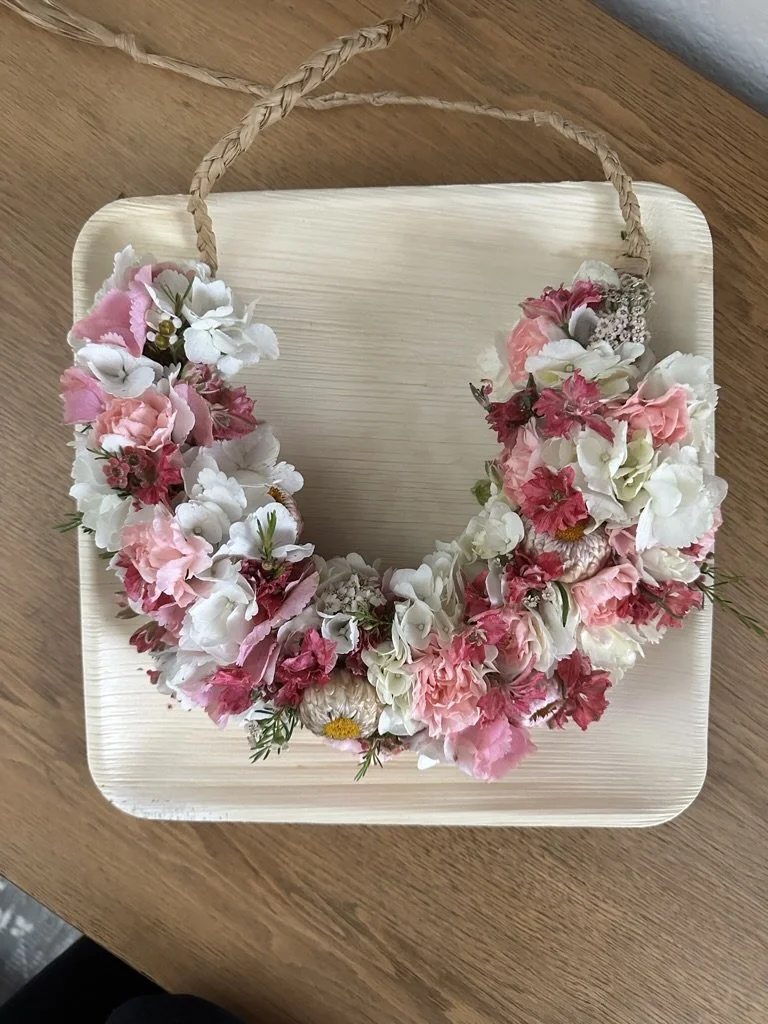
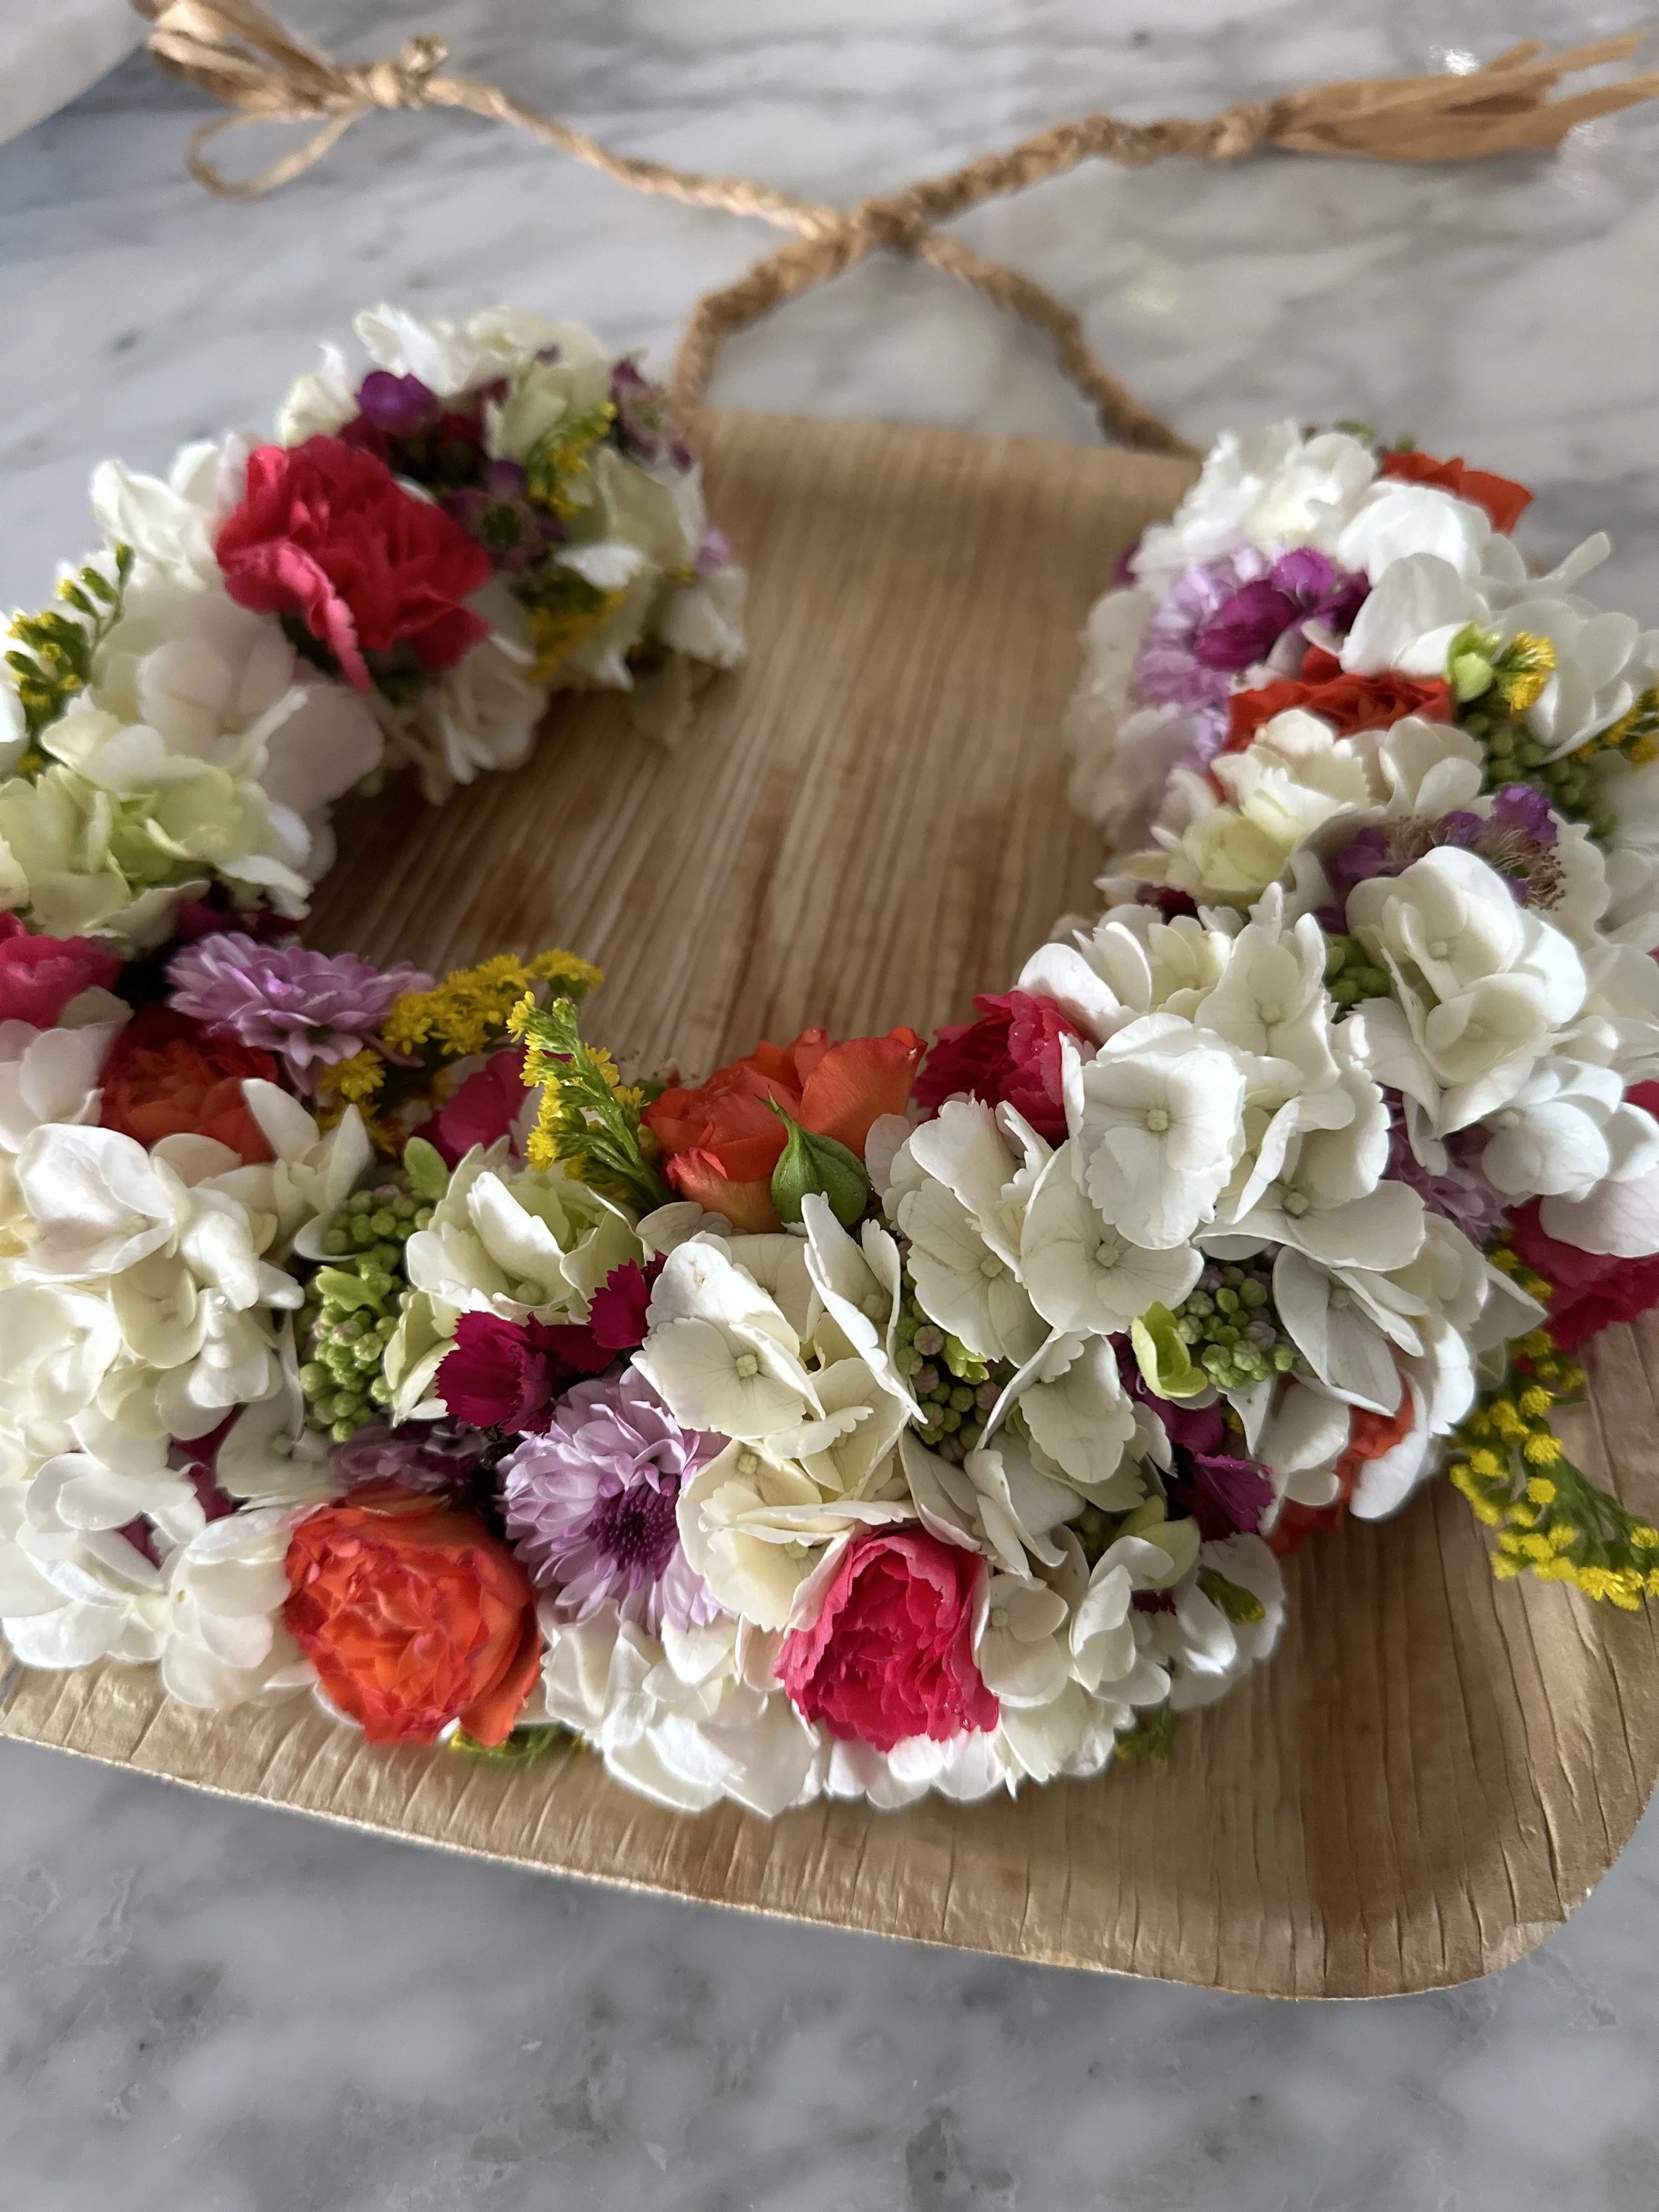
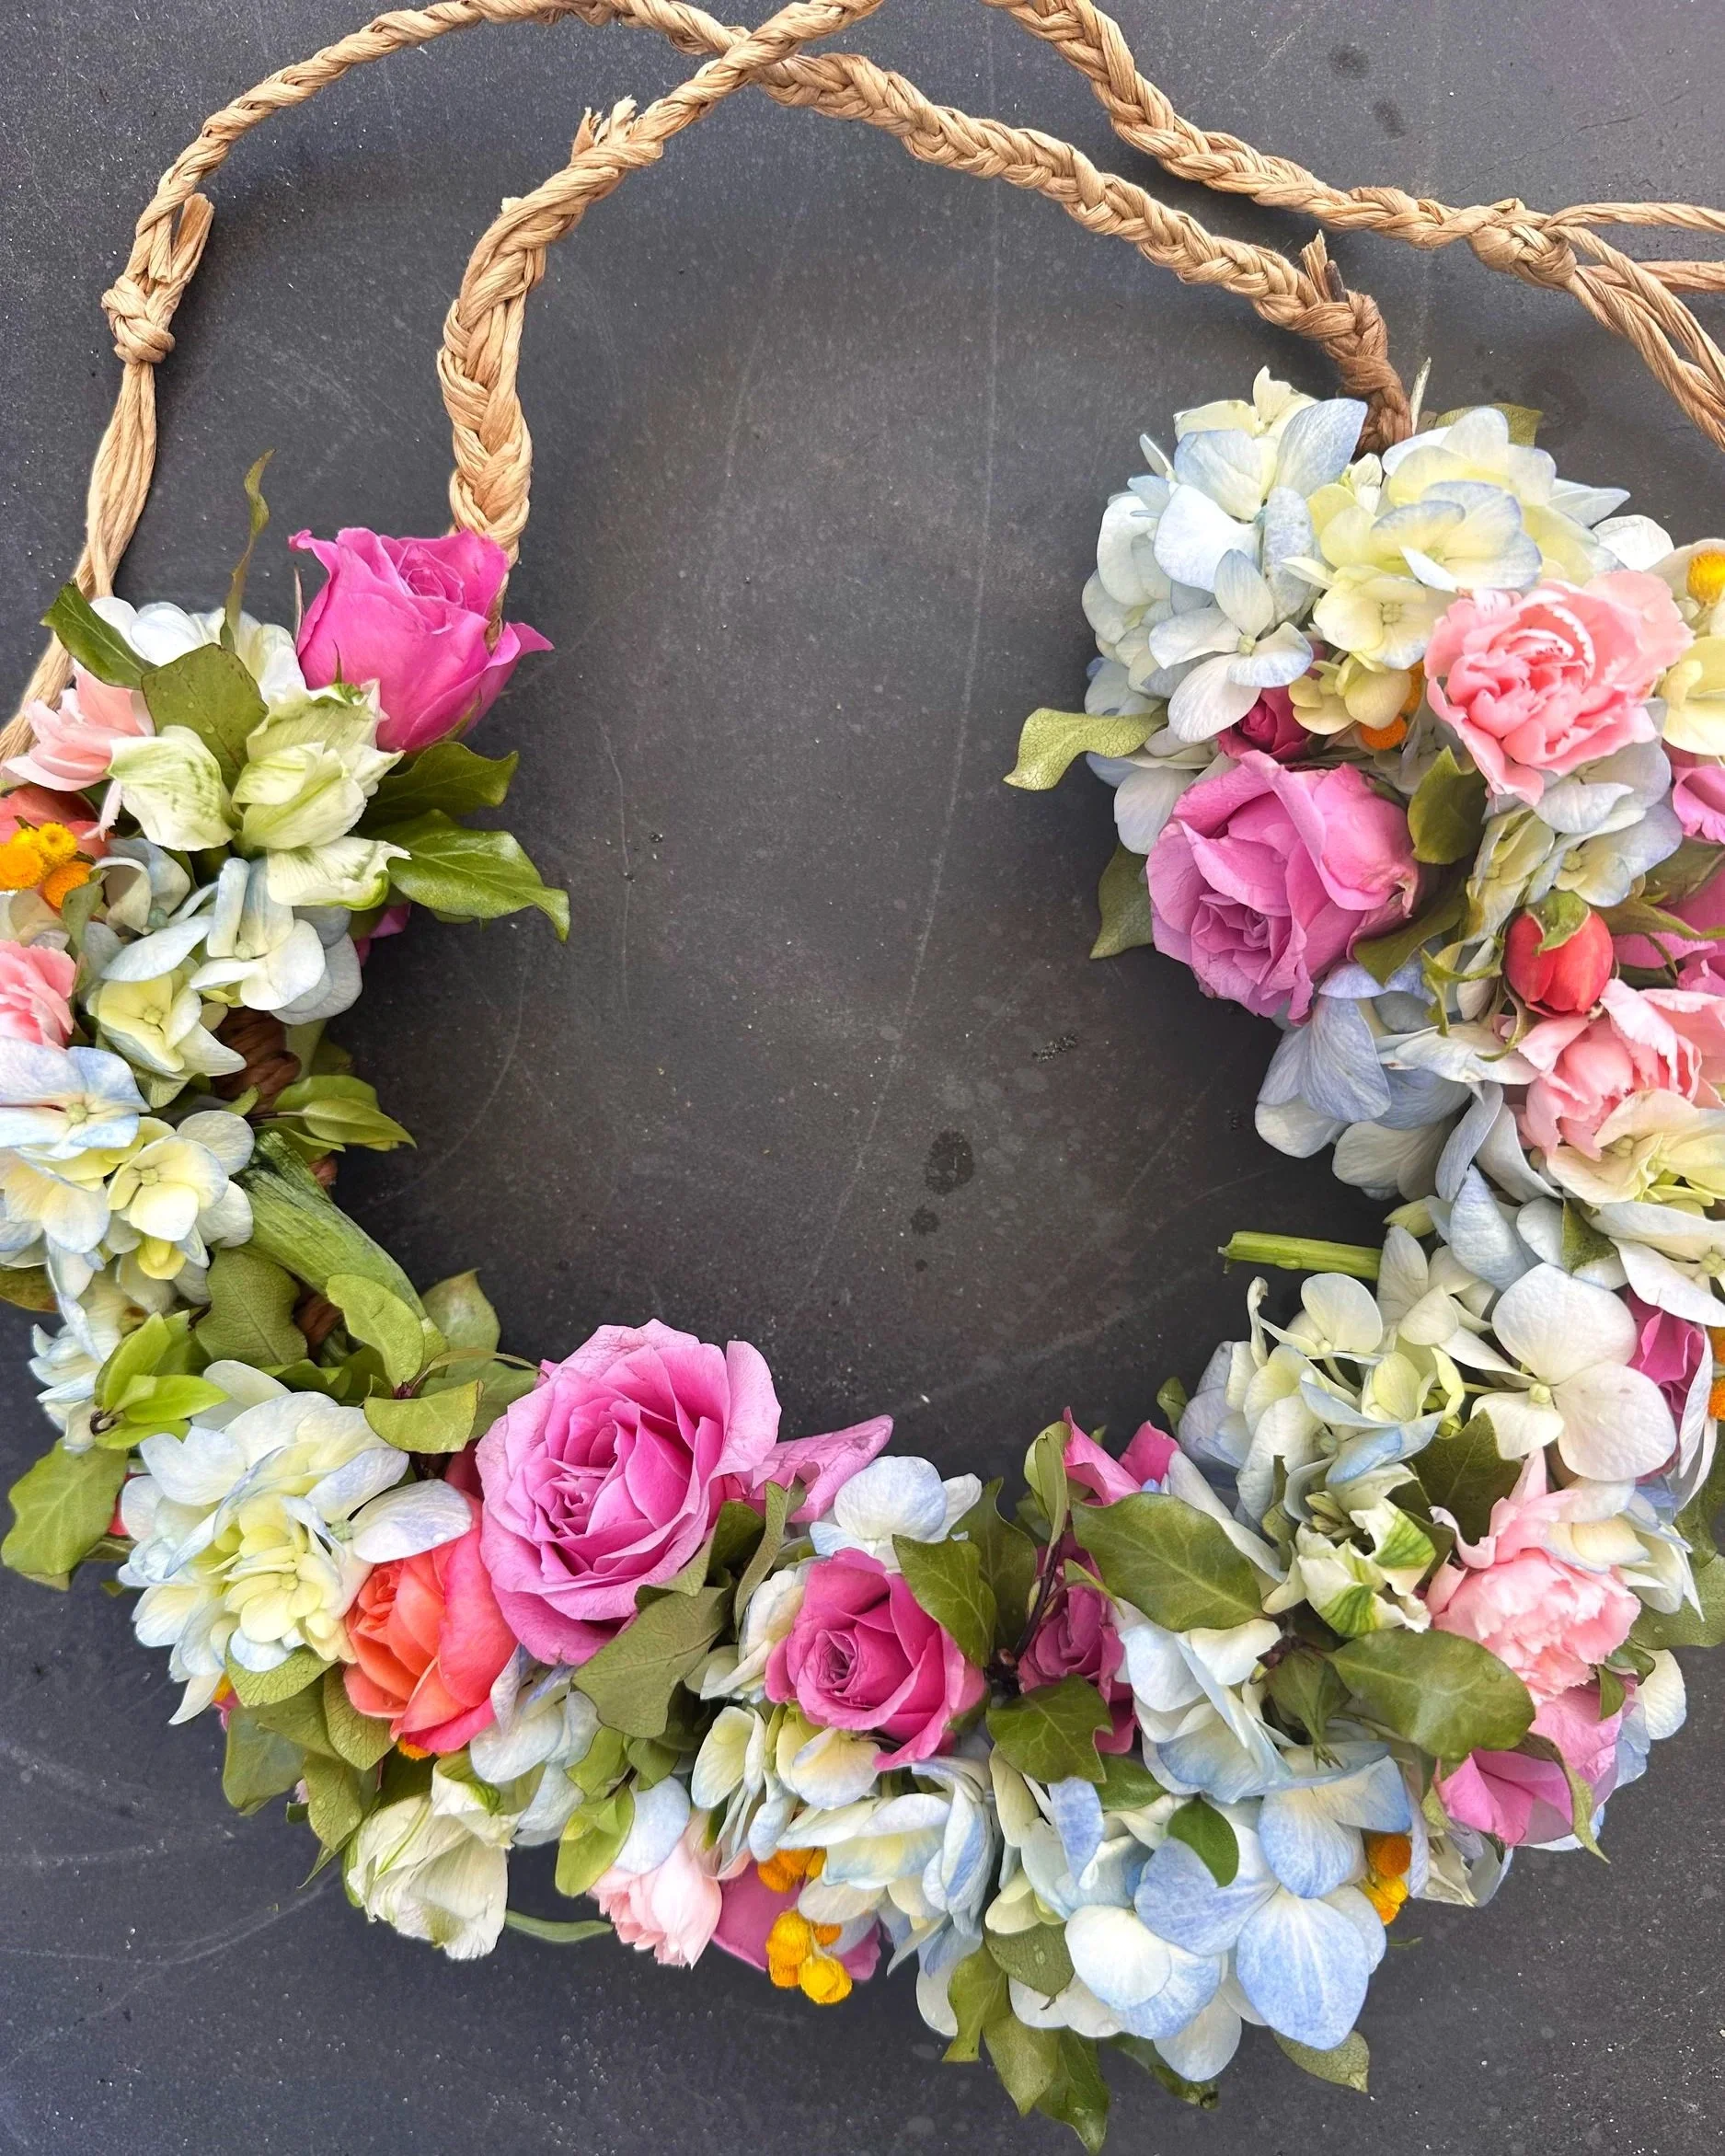
A haku lei is one of the most beautiful forms of floral artistry, in my opinion.
Whether worn as a flower crown or adapted into a braided neck lei, each one is completely unique—created from whatever nature happens to be offering that season. Delicate blooms, fragrant greenery, interesting textures... every lei tells its own story.
And perhaps my favorite part? It relies almost entirely on natural materials. No glue gun. No floral tape. No ribbon. Just flowers, foliage, raffia, and a little patience.
There are many different styles of leis. One of the most common is the kui lei, which is created by threading flowers onto a long needle. Kui leis are beautiful, relatively quick to make, and perfect for showcasing individual blooms.
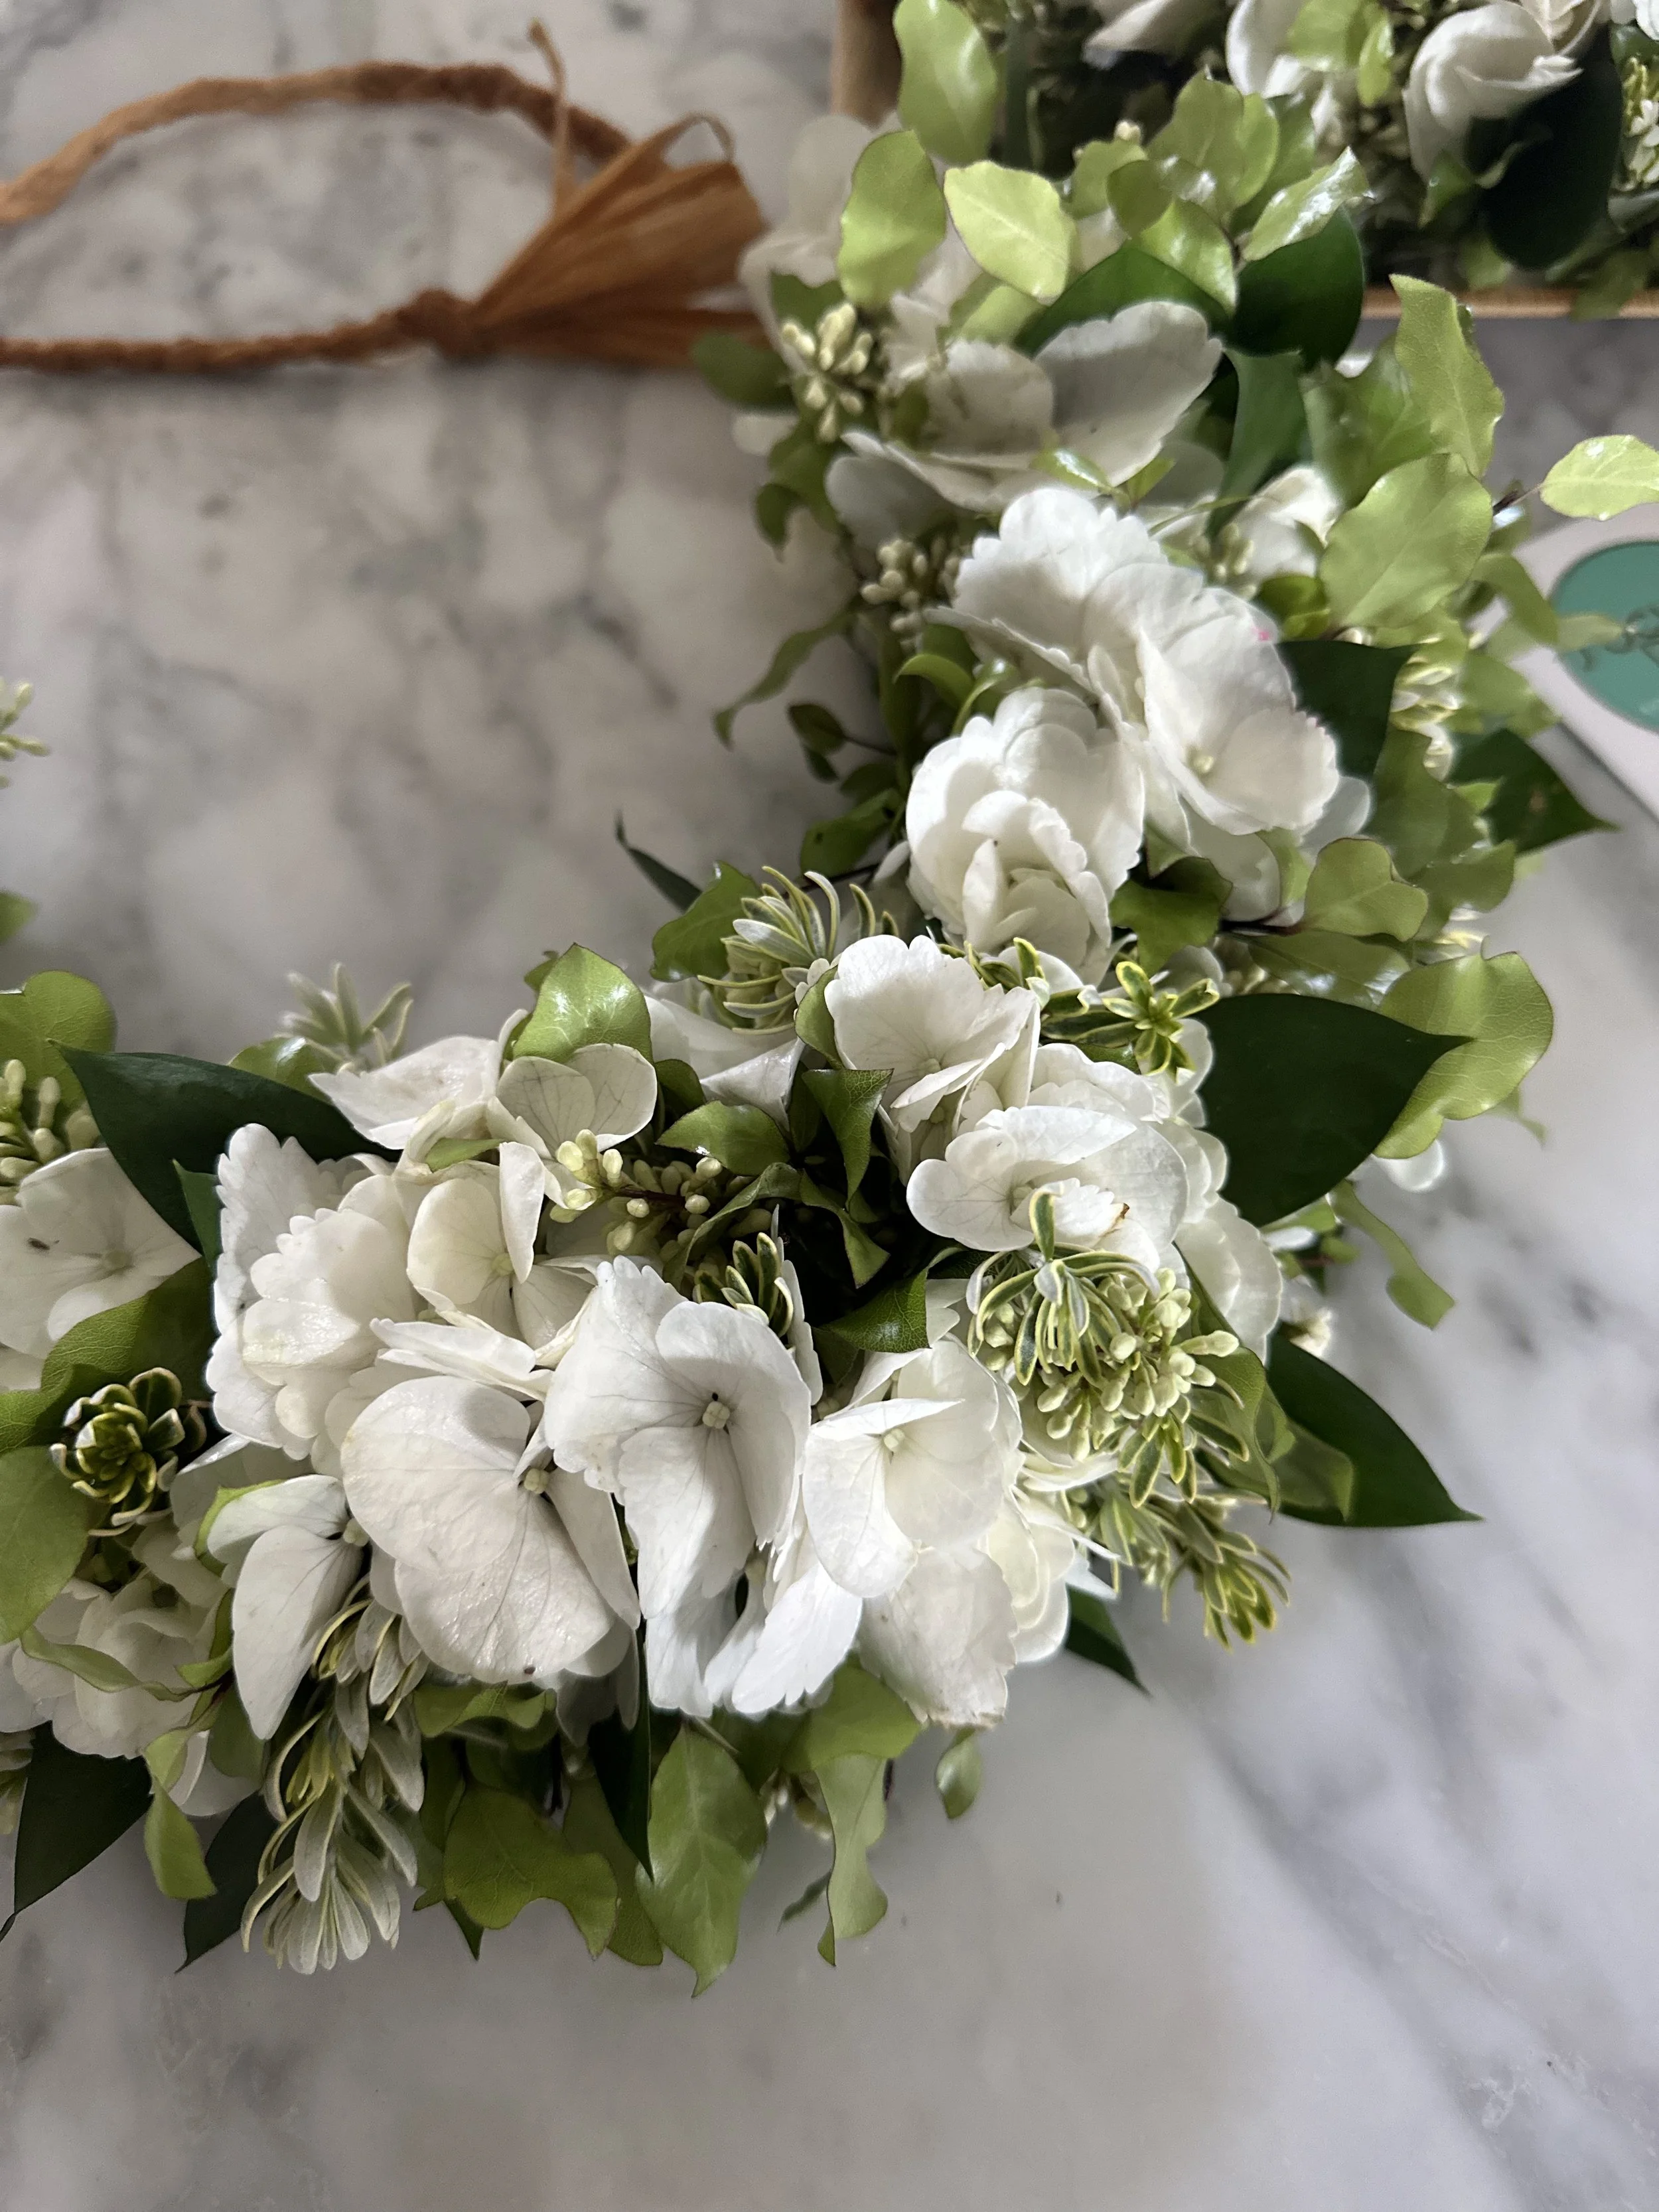
A haku-style lei, on the other hand, is built a little differently. Traditionally, small bundles of flowers and greenery are layered onto a braided raffia base and secured with a continuous wrapping technique. As each section overlaps the last, the lei gradually becomes lush, textured, and wonderfully organic.
Over the years, I've developed my own approach. Rather than always working with pre-made bundles, I often add just one bloom—or perhaps a few stems at a time—wrapping each addition before moving on to the next. It gives me more flexibility to adjust the composition as I go and creates a piece that feels a little more natural and spontaneous. There isn't one "correct" way to make a beautiful haku lei. Once you understand the technique, you'll find a rhythm that feels like your own.
Before You Begin
Set aside enough time.
A haku lei isn't something you want to rush through. I recommend making it in one sitting so your flowers stay fresh and your rhythm isn't interrupted.
Choose flowers that are built to last.
One of the best pieces of advice I ever received came from master lei maker Bill Char:
"Only use flowers that still look beautiful after sitting out of water for five minutes."
It's a simple test that will save you a lot of disappointment later.
Relax and enjoy the process.
Making a haku lei is wonderfully repetitive—almost meditative. Once you find your rhythm, you'll be surprised how quickly the lei begins to take shape.
A few reminders: the calmer you are, the easier the raffia is to work with and the less likely it is to break. But don't let the word relaxing fool you—if your hands aren't just a little sore by the end, you probably weren't wrapping tightly enough. A beautiful haku lei takes time, patience, and a whole lot of hand work.
Materials
Natural raffia
Fresh flowers
Greenery
Floral clippers or scissors
Trays or shallow bowls to organize your materials
Spray bottle with water
Materials:
Raffia, flowers, greens, clippers, bowls or trays
Step 1: Prep Your Flowers
Before you begin, trim all of your flowers and greenery so they're ready to use. I typically leave stems about 1½–2 inches long.
Lay everything out on trays or shallow bowls so you can easily grab what you need as you work. Spending a few extra minutes prepping first makes the entire process much smoother.
Step 2: Create Your Raffia Base
Gather 6–8 long strands of raffia, approximately 80 inches long.
Tie a knot at one end and braid the raffia for about 8 inches. Tie another knot to secure the braid. Then, using only the braided section, create a small loop and tie another knot. This will become one end of your finished lei.
Step 3: Begin Building Your Lei
Traditionally, haku leis are made by attaching small bundles of flowers and greenery to the braided raffia.
Over the years, I've developed my own approach. Sometimes I work with small bundles, but more often I add one flower—or just a few stems—at a time, wrapping after each addition. It gives me more flexibility to adjust the composition as I go and create a piece that feels natural and organic.
I also like to use painters tape on my counter to hold it down in place. Place your first flowers just below the last knot, resting them along the loose raffia strands.
Step 4: Wrap
Holding your flowers firmly against the raffia with one hand, take one strand of raffia and wrap it over the flowers, around the back, and back over the top again.
Continue wrapping with that same strand, keeping steady tension as you add flowers.
Tip: I like to work right along the edge of the table. Letting the finished portion hang over the edge helps the lei stay flat, neat, and tightly wrapped as it grows.
Step 5: Keep Going
Continue adding flowers and greenery, overlapping each new section slightly over the last.
If a strand of raffia breaks—or becomes too short—don't worry. Simply pick up another strand and continue wrapping.
Sometimes I'll even add another long piece of raffia into my handful so I always have 4–8 working strands available.
Step 6: Finish Your Lei
Once you've reached your desired length, tie a knot behind your final section of flowers.
Wrap once more with another strand and tie again to secure everything tightly.
Finally, braid the remaining raffia, tie one last knot, and trim any excess.
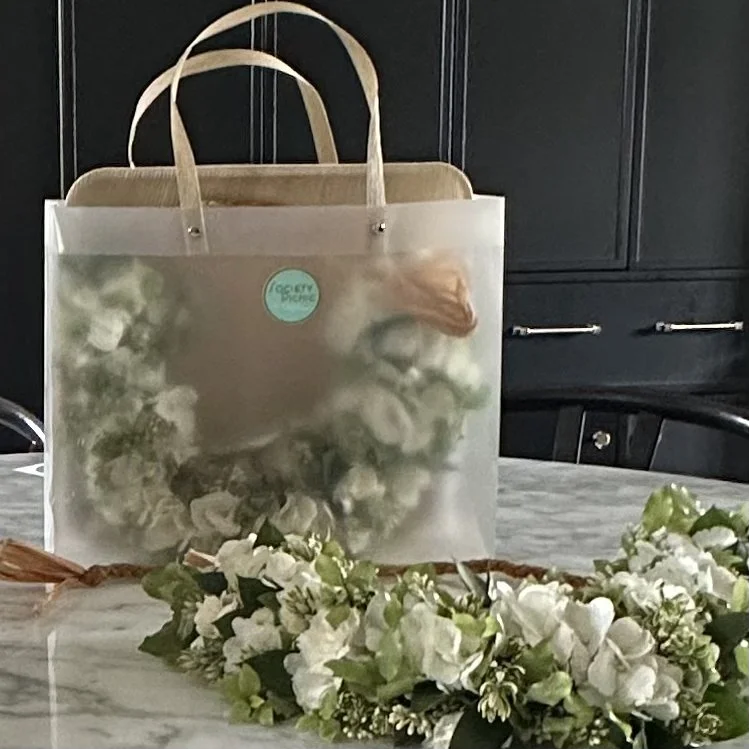
Caring for Your Lei
Lightly mist your finished lei with water and store it in the refrigerator until you're ready to wear it.
I usually place mine on the bottom shelf, away from fruits and vegetables, where it's cool but not so cold that the flowers become damaged.
One Final Thought
Every time I sit down to make a haku lei, I forget just how labor-intensive they are.
Each flower is placed by hand. Every wrap is made one at a time. There really isn't a shortcut.
It's one of the reasons I believe a handmade lei is such a meaningful gift. Whether you're making one for someone you love, giving one to celebrate a milestone, or receiving one yourself, you're holding something that simply can't be rushed.
A haku lei is, and always will be, a labor of love.
WANT MORE!
I follow a couple lei making masters on Instagram, one from Hawaii, @meleana_hawaii and another from Los Angeles, @leisyleilani. I am always in awe of their work and just the clear passion for making these beautiful living art pieces. In addition, there is a lei making master, Bill Char on YouTube and No JOKE if you need any sort of tutorial, he is your go to! Here are a few of my favorites.
https://youtu.be/ZQ4X7IhtasU
https://youtu.be/kFcw1nG5djk
https://youtu.be/m6t-PvCLfo8